These striped cookies have me REALLY excited today! They are super easy to make. And I love how pretty and festive they look. They would be a fabulous addition to your Holiday cookie tray. No decorating skills required!
The inspiration for these Slice and Bake Peppermint Mocha Cookies comes from Sally’s Baking Addiction. I used her Neapolitan Cookie recipe, but changed up the flavors to make them more Christmassy. The pink layer is peppermint, the white layer is vanilla and the brown layer is mocha. I just love the combination of peppermint and mocha together.
And here is the best part: all three layers of this cookie start from a single base dough recipe. Which is so smart and simple!
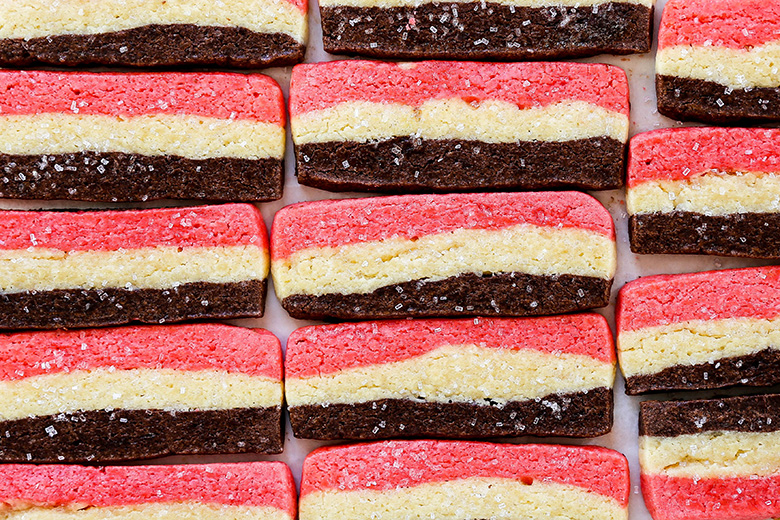
The base dough for these cookies is a very straightforward butter cookie dough recipe. Once you have it made, simply divide that dough into three equal portions. One portion will be the vanilla layer, so you can just set it aside as is. The second portion will be the peppermint layer, which you’ll mix with peppermint extract and a few drops of red gel food coloring (highly recommend over using liquid food coloring). And the third portion will be the mocha layer, which you’ll mix with melted chocolate, instant espresso powder and unsweetened cocoa powder. Be sure to work from lightest to darkest colored dough, like I’ve outlined in the instructions below, so there is no need to wash out your mixing bowl or paddle attachment in between!
Once all the dough has been made and flavored, press each one firmly and evenly into a standard 9 X 5-inch loaf pan that has been lined with parchment paper. I find the best way to do this is with my hand and a second piece of parchment paper underneath to prevent the dough from sticking to my hand. Take your time with this step, really making sure each layer is flat and even. This will give you the cleanest looking stripes in your final cookies. The dough might start to get a bit warm under the heat of your hand, but since we’re going to be refrigerating the dough before slicing it, it’s not something to be overly concerned about at this point.
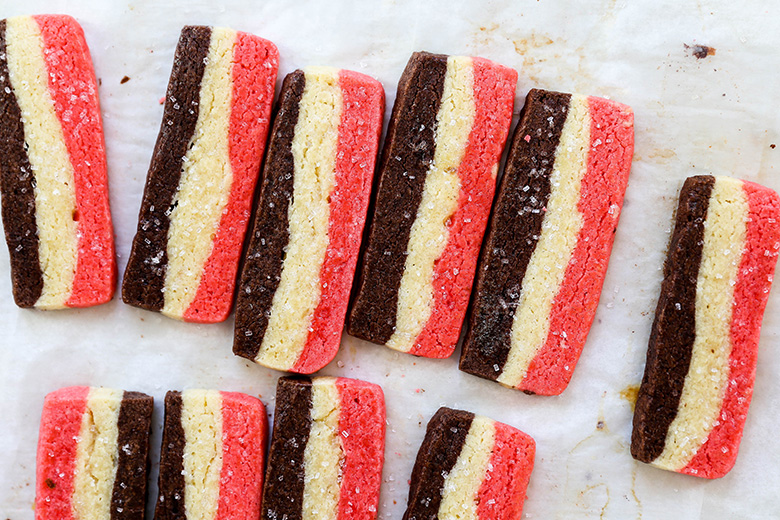
Once the dough is fully chilled (I always recommend overnight, if you have the time), remove it from the loaf pan and use a sharp knife to trim around the edges to square off the block (you can bake up the scraps for a much-needed chefs treat!). Then cut the dough into slices. I was feeling a biscuit- or biscotti-sized cookie vibe for this recipe, so I kept the slices long (which also really makes them stand out on a cookie tray!). But if you want to make smaller cookies, you can absolutely cut the long slices in half to make squares. It’s up to you!
These cookies will puff up a bit while they bake, so be sure to give them some space on their baking sheets. And to make them look extra neat and tidy, immediately after the cookies come out of the oven gently tap/push along the edges of each cookie with the flat side of your knife. The cookies will still be soft at this point, so you can kind of guide their shape into more of a rectangle and straighten out any misshapen edges that may have puffed up too much. This is an optional step, but it really does help with the overall “curb appeal” of these cookies!
Cheers,
Liz
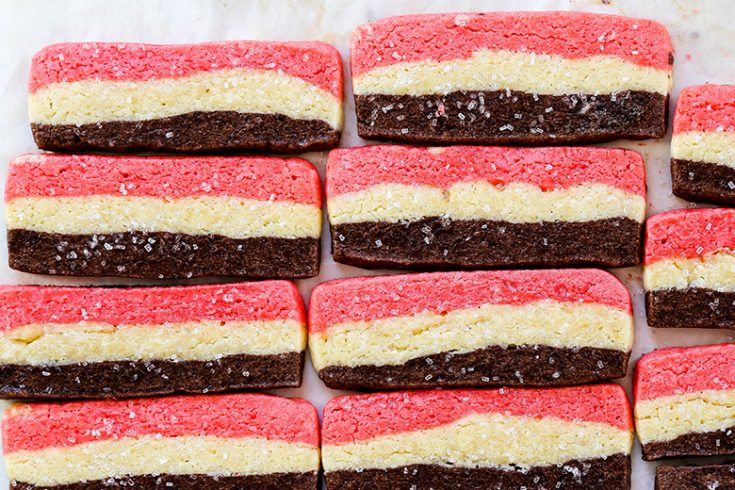
Slice and Bake Peppermint Mocha Cookies
Ingredients
For the Base Vanilla Cookie Dough:
- 2 1/2 cups all-purpose flour
- 1/2 tsp. baking powder
- 1/2 tsp. salt
- 1 cup (16 tablespoons) unsalted butter, softened at room temperature
- 1 cup granulated sugar
- 1 egg, at room temperature
- 1 egg yolk, at room temperature
- 1 tsp. vanilla extract
For the Peppermint Cookie Dough:
- 1/3 of the base vanilla cookie dough
- 3/4 tsp. peppermint extract
- Red gel food coloring
For the Mocha Cookie Dough:
- 1/3 of the base vanilla cookie dough
- 1 ounce semi-sweet chocolate, roughly chopped
- 1 tsp. instant espresso powder
- 1 1/2 tablespoons unsweetened cocoa powder
For Finishing:
- 1 egg white
- 1 tablespoon water
- Coarse sugar/decorating sugar
Instructions
- In a medium bowl, stir together the flour, baking powder and salt. Set aside.
- In the bowl of your stand mixer fitted with the paddle attachment, beat together the butter and sugar on medium-high speed until light and fluffy, about 2-3 minutes. Scrape down the sides and bottom of the bowl. Add the egg, egg yolk and vanilla extract and beat to combine. Then with your mixer on low speed, slowly add in the dry ingredients, beating just until combined and no more white streaks remain.
- Dump the cookie dough onto a piece of parchment paper and use your hands to bring it together and shape it into a rectangle. Then divide the dough into 3 equal-sized portions. One portion will be the vanilla layer and can be set aside as is.
- To make the peppermint layer, place one portion of the cookie dough back into the bowl of your stand mixer (no need to clean it out). Add the peppermint extract and a couple drops of red gel food coloring. Beat on low speed until combined, adding additional red gel food coloring if you desire a darker color. Remove the peppermint dough from your mixing bowl and set it aside.
- To make the mocha layer, place the final portion of the cookie dough back into the bowl of your stand mixer. Add the chopped chocolate to a small bowl and microwave it in 30 second intervals, stirring in between, until melted. Stir the espresso powder into the melted chocolate. Then scrape everything into your mixing bowl along with the cocoa powder. Beat on low speed until combined. Remove the mocha dough from your mixing bowl and set it aside.
- Line a 9 X 5-inch loaf pan with parchment paper, leaving some overhanging around the sides. Take the peppermint dough and press it evenly and firmly into the bottom of your prepared pan. I find it helps to put a piece of parchment paper between my hand and the dough to prevent it from sticking to my hand. Next, evenly and firmly press the vanilla dough over the peppermint dough. And finally, evenly and firmly press the mocha dough over the vanilla dough.
- Press a piece of plastic wrap down onto the surface of the top layer of dough and transfer the loaf pan to your refrigerator to chill the dough for at least 6 hours or up to overnight.
- Pre-heat your oven to 350 degrees.
- Line two baking sheets with parchment paper and set side.
- In a small bowl, whisk together the egg white and water until the egg white is frothy. Set aside.
- Lift the chilled dough out of the loaf pan using the overhanging parchment paper. Peel off and discard the parchment paper and then place the block of dough on a cutting board. Using a sharp knife, trim a little dough off the sides of the block to help square up the sides. Then slice the trimmed block into slices that are approximately 1/3-inch thick.
- Place the slices on your prepared baking sheets, spacing them about 2-inches apart. Brush lightly with some of the egg wash and sprinkle with some of the coarse sugar. Transfer the baking sheets to your pre-heated oven and bake for 11 minutes. Then rotate the pans and bake for an additional 2 minutes, or until the cookies look set around the edges.
- Remove the baking sheets from your oven. If you want the sides of cookies to be more even/straight, while they are still warm you can gently push/tap against the sides of each cookie with the flat edge of your knife. They will be still be soft enough at this point that you can guide the shape of the cookies to some degree. Let the cookies cool for 5 minutes before transferring them to a wire rack to continue cooling.
- Once fully cooled, the cookies can be transferred to an airtight container and stored at room temperature for 6-7 days.
Notes
Recipe adapted from Sally’s Baking Addiction.







yes, very festive, love this adaptation, and great choice of flavors too! thank you
Thanks, Sabrina!