This post was originally published here June 12, 2014. I’ve since adjusted the recipe slightly. And updated the photographs and text to reflect those changes. I hope you try out these sweet little individual pavlovas. They are such a fun and easy dessert for special occasions!
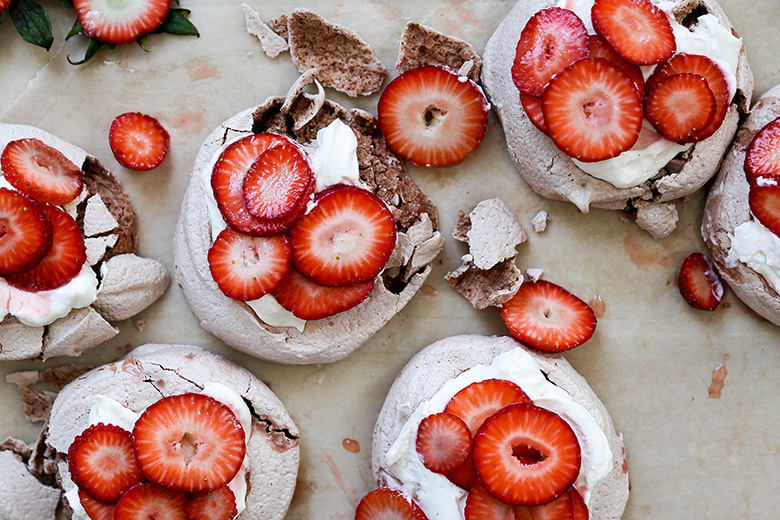
If you’re a texture junkie, then you’re going to immediately fall in love with these Strawberries and Cream Chocolate Pavlovas!
They have:
(1) a thin, crispy outer shell
(2) a soft, chewy marshmallow-like interior
(3) a smooth, pillowy layer of whipped cream
(4) and finally, a topping of fresh, juicy strawberries
Seriously. That’s like four desserts in one! The good people of Australia and New Zealand (countries where pavlovas are most popular and are believed to have originated) clearly know what they are doing!
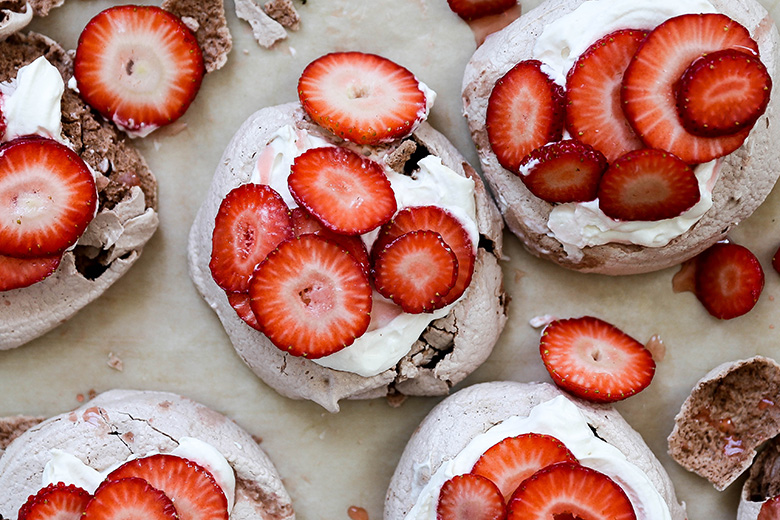
Pavlovas might look intimidating, but they are extremely easy to prepare. The only step that requires a little bit of extra care and attention is whisking the egg whites into stiff, glossy peaks. But I have a few tips and tricks that will guarantee you have success each time! First, make sure your egg whites are at room temperature and devoid of any traces of egg yolk. So be extra vigilant when separating them. Second, make sure your bowl and whisk are clean and have no traces of fats or oils. And third, go slow! Start by whisking the egg whites on low speed, then gradually work your way up to high speed.
So how do you know when your egg whites are whisked enough? The batter will have thickened considerably and it should be very shiny and glossy (it will look like marshmallow fluff). And it should be able to hold its shape. I always take my whisk and flip it upside down and if the batter at the end of the whisk doesn’t droop, I know it’s ready!
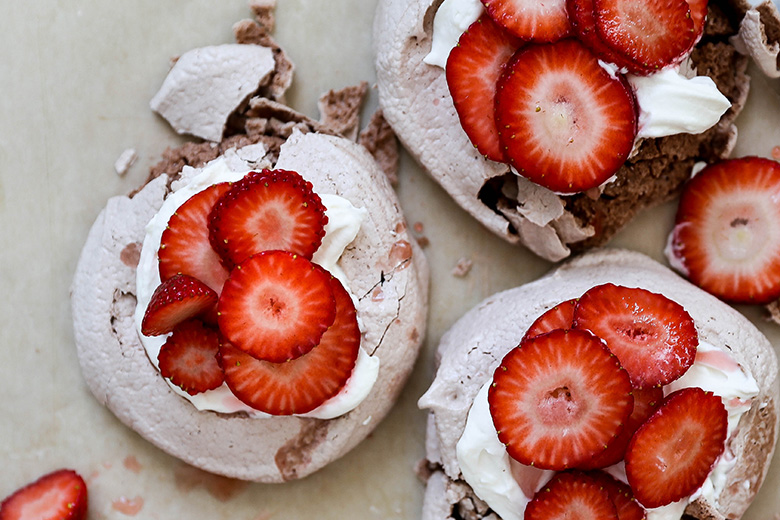
Pavlovas are a dessert that I’m happy to devour at any time of year. But they seem especially well suited for Springtime, because they remind me of little nests. How cute would these individual Strawberries and Cream Chocolate Pavlovas be for Easter? And you can even make the meringue base a couple days in advance, which makes them even easier for Holidays or parties. The undecorated meringues can be stored in a single layer in an airtight container at room temperature for 2-3 days. Then finish them with the toppings before serving. Once you add the whipped cream and strawberries, I recommend enjoying them within a couple of hours, as the moisture from the toppings will cause the meringues to soften and lose their characteristic crispy outer shell.
Speaking of that irresistibly crunchy, delicate exterior…it will very likely develop some cracks. But that’s just normal wear and tear that happens when you move the meringues around and add the toppings. It’s ok. It’s all part of the rustic appeal of these Strawberries and Cream Chocolate Pavlovas! Sometimes I’ll even purposely give them a little whack (like when you break the crust of a crème brûlée with the back of a spoon!) to create a larger well for the toppings and reveal some of the chocolatey interior!
Cheers,
Liz
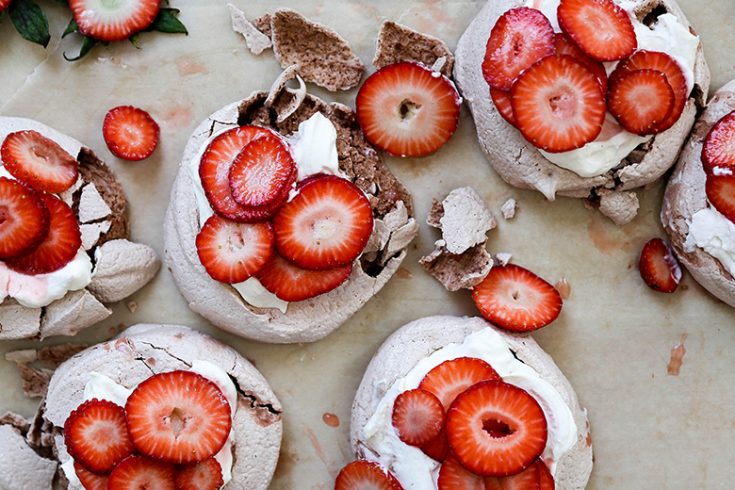
Strawberries and Cream Chocolate Pavlovas
Ingredients
For the Meringues:
- 3 egg whites, at room temperature
- 1/4 tsp. cream of tartar
- 1/8 tsp. salt
- 3/4 cups granulated sugar
- 1 1/2 tablespoons unsweetened cocoa powder
- 1 tsp. vanilla extract
For the Strawberries:
- 1 lb fresh strawberries, trimmed and sliced
- 2 tablespoons granulated sugar
For the Whipped Cream:
- 2 ounces full-fat cream cheese
- 1/4 cup powdered sugar
- 1 cup heavy whipping cream, cold
- 1 tsp. vanilla extract
Instructions
- Pre-heat your oven to 275 degrees. Line a large baking sheet with parchment paper and set it aside.
- Add the egg whites, cream of tartar and salt to the bowl of your stand mixer fitted with the whisk attachment. Whisk on low speed for about 1 minute. Then increase the speed to medium and whisk for another 2 minutes. The egg whites should have small, uniform bubbles throughout.
- In a small bowl, stir together the sugar and cocoa powder. Then with your mixer on medium speed, slowly add the sugar/cocoa powder mixture to the egg whites. Once all the sugar/cocoa powder mixture has been added, increase the speed to high and whisk until the batter is glossy and holds stiff peaks, about 4-5 minutes. Add the vanilla extract and whisk just until incorporated.
- Using a large spoon, scoop the batter out onto your prepared baking sheet into 6 mounds, placing them about 2-3 inches apart from each other. Using the back of the spoon, create a small well in the middle of each mound. Be careful not to make the mounds too thin/flat, because they will spread out during baking. If this happens, you can use the back of the spoon to coax/lift the batter back into a taller shape.
- Transfer the baking sheet to your pre-heated oven and reduce the temperature to 250 degrees. Bake the meringues for 50-55 minutes. They should feel dry to the touch when they are done. Turn your oven off and let the meringues rest in the oven as it cools, about 20-30 minutes. Then remove the baking sheet and allow the meringues to finish cooling at room temperature. Cooled, undecorated meringues can be used immediately. Or stored in a single layer in an airtight container at room temperature for 2-3 days.
- While the meringues bake, prepare the toppings. In a medium bowl, toss the sliced strawberries with the sugar. Set aside for at least 30 minutes before using.
- To make the whipped cream, add the cream cheese, powdered sugar and 1-2 tablespoons of the heavy cream to the bowl of your stand mixer fitted with the whisk attachment. Whisk on low-medium speed until the mixture is mostly smooth. Then add the remaining heavy cream and vanilla extract and gradually increase the speed to high, whisking until soft-medium peaks forms, about 2 minutes.
- To serve, fill the center of the meringues with a spoonful of the whipped cream and some of the strawberries. Enjoy immediately.
Notes
Recipe adapted from Simply Recipes.
